
Download or browse on-line these Assembly Manual for Tevo TORNADO 3D Printers.
Summary of Contents:
 |
[Page 1] Tevo TORNADO — 1 — TEVO TORNADO ASSEMBLY MANUAL TEVO 3D Electronic Technology Co., Ltd. TEVO |
 |
[Page 2] Tevo TORNADO … |
 |
[Page 3] Tevo TORNADO — 1 — READ ME FIRST READ THIS MANUAL COMPLETELY BEFORE ASSEMBLING AND POWERING UP YOUR PRINTER! Hazards and Warnings The TEVO Tarantula 3D printer has motorized and heated parts. When the printer is in operation always be aware of possible hazards…. |
 |
[Page 4] Tevo TORNADO — 2 — Table of Contents READ ME FIRST 1 Table of Contents 2 Leer from TEVO 3 Assembly 4 Fine-Tuning 8 Leveling the Build Plate 11 Preparaing Slicing Soware 12 How to Slice 3D Object for SD Print 16 How to Flash Firmware 18 TEVO Aer-S… |
 |
[Page 5] Tevo TORNADO — 3 — Leer from TEVO Dear Customer, Thank you for purchasing the TEVO Tarantula 3D printer. This guide will step you through the assembly and the first run of the printer. If you have any problems during assembly, please go to our Facebook group:… |
 |
[Page 6] Tevo TORNADO — 4 — 1. Remove the parts from the box and remove any tape and padding from the parts. Inspect the parts to make sure they were not damaged in shipment. 2. Install the gantry frame (A) to the base frame (B). • On the gantry frame, make sure… |
 |
[Page 7] Tevo TORNADO — 5 — 3. Install the two T-shaped frame reinforcement plates. The plate with the limit switch goes on the Z stepper motor side. • Loosen the T-nuts by hand and turn them so they will fit inside the grooves on the frames. Keep the nuts loose so … |
 |
[Page 8] Tevo TORNADO — 6 — 4. Connect all electrical cables. • Put the control box on the lead screw side of the printer with the screen facing forward. • Connect the heater cables to the control box. The cable for the build pates has four pins. The cable for the … |
 |
[Page 9] Tevo TORNADO — 7 — 5. Make sure the PTFE tube is all the way down in the hotend, it may come loose during transportation. Push it down all the way into the hotend. Gaps between PTFE tube and nozzle will cause clogging. |
 |
[Page 10] Tevo TORNADO — 8 — 1. Adjust the tension of the build plate wheels on the Y-axis on the base frame. • Check the tension of the build plate wheels. Try to turn the wheels under the build plate without forcing it. If the wheel turns freely or without much effo… |
 |
[Page 11] Tevo TORNADO — 9 — 3. Adjust the tension of the X-carriage wheels on the X-axis on the gantry frame. • Check the tension of the X-carriage wheels. Try to turn the wheels under the build plate without forcing it. If the wheel turns freely or without much effo… |
 |
[Page 12] Tevo TORNADO — 10 — 5. Check the tension of the belt driving the X-carriage. The belt should be taut, with no slack or slop. • If the belt is loose: • Loosen the two bolts at the right side of the gantry holding the belt pulley. • Pull the pulley to ti… |
 |
[Page 13] Tevo TORNADO — 11 — To build good parts, the build plate needs to be level, and the nozzle needs to be about 0.1mm from the build plate in all locations. This is about the thickness of a single piece of A4 paper. You want to adjust the height of the build plate… |
 |
[Page 14] Tevo TORNADO — 12 — This printer works with most slicing/printing software like Simplify3D, Cura, Repetier-Host, etc. But we will go in details for Repetier-Host software and tell you how to set it up so that you can make your first print. First we recommend yo… |
 |
[Page 15] Tevo TORNADO — 13 — Click on Printer Shape tab, change the following values: X Max — 320 Y Max — 320 Print Area Width — 300 Print Area Depth — 300 Print Area Height — 400 |
 |
[Page 16] Tevo TORNADO — 14 — Go to Printer tab, change the value according to the picture on the left. Go to Slicer tab, select Slic3r as slicer and click on Configuration. |
 |
[Page 17] Tevo TORNADO — 15 — On Slic3r window, go to File -> Load Config. (Loaded setting is for general PLA filament printing). Select and load Tornado.ini from SD card. Rename print setting, filament, printer to Tornado and save. |
 |
[Page 18] Tevo TORNADO — 16 — Click on Load, browse to location of the file, then choose Open. After the file is open up in 3D view, click on Slicer tab to go into slicing page. How to Slice 3D Object for SD Print |
 |
[Page 19] Tevo TORNADO — 17 — Select the correct Print Setting, Printer Settings, and Extruder type, then click on Slice with Slic3r. After slicing, click on Save for SD Print to save the G-code file to the SD card with file name of your choice. Then you can insert the ca… |
 |
[Page 20] Tevo TORNADO — 18 — To install firmware on your printer, you’ll need to download the following: 1. Arduino IDE (http://www.arduino.cc) 2. Firmware Source Code (You can get it from many ways, e.g. our Facebook Page Files section, our Customer Service, or fro… |
 |
[Page 21] Tevo TORNADO — 19 — Dear Customer, Thank you for purchasing TEVO 3D printer. We are dedicated to producing low price, high quality 3D printers and hope you have as much fun using it as we did creating it! If you have any issue/questions regarding the contents in… |
 |
[Page 22] Tevo TORNADO — 20 — 2.2. For Missing Parts, refer to section 1.2, the customer shall fill out a Service Ticket (Report a Problem / Missing Parts.) 2.3. For Damaged Hardware Parts, refer to section 1.2, the customer shall take photos or video and submit them whe… |
 |
[Page 23] Tevo TORNADO — 21 — |
 |
[Page 24] Tevo TORNADO … |
| Document’s Content and Additional Information | Share Manual |
|---|---|
|
Tevo TORNADO Assembly manual
Pages Preview: Document Transcription:
See Details |


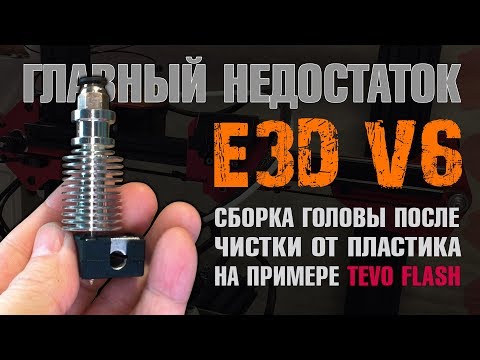
Главный недостаток E3DV6, сборка головы на примере Tevo FlashПодробнее
[Устарело] Конфигурация и установка прошивки Marlin 1.1.9Подробнее
![[Устарело] Конфигурация и установка прошивки Marlin 1.1.9](https://img.youtube.com/vi/pSBb9GLrM1s/0.jpg)
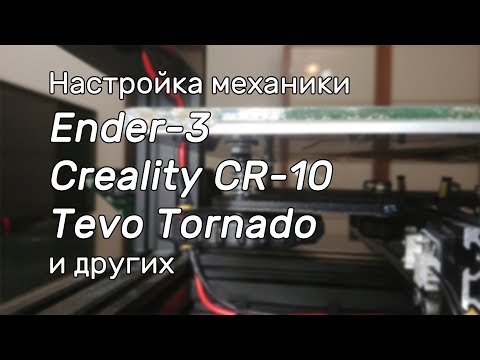
Настройка механики Ender 3, Creality CR-10, Tevo Tornado и других OpenBuilds 3D принтеровПодробнее
Инструкция по сборке и настройке механики 3D принтера Ender 3Подробнее

[Устарело] BLTouch. Стоит ли покупать? Установка, прошивка, калибровка. На примере Tevo TornadoПодробнее
![[Устарело] BLTouch. Стоит ли покупать? Установка, прошивка, калибровка. На примере Tevo Tornado](https://img.youtube.com/vi/oJgKQKbN8nE/0.jpg)
Правильная настройка уровня стола 3D принтера, или почему не работают советы топовых блоггеровПодробнее

[Устарело] Всё об экструдерах 3D принтеров. Принцип работы, решение проблем, инструкция по сборке.Подробнее
![[Устарело] Всё об экструдерах 3D принтеров. Принцип работы, решение проблем, инструкция по сборке.](https://img.youtube.com/vi/5ZxN1LFajrw/0.jpg)
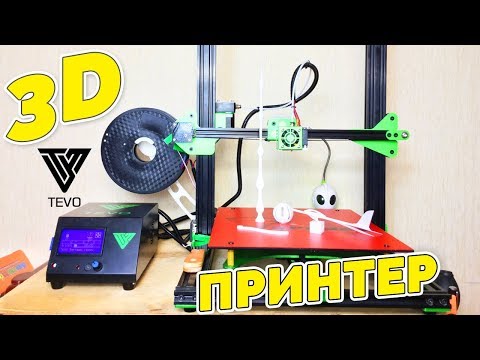
3D PRINTER TEVO TORNADO ОБЗОР ПЕЧАТЬПодробнее
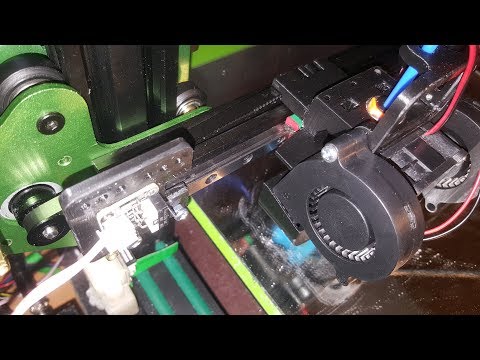
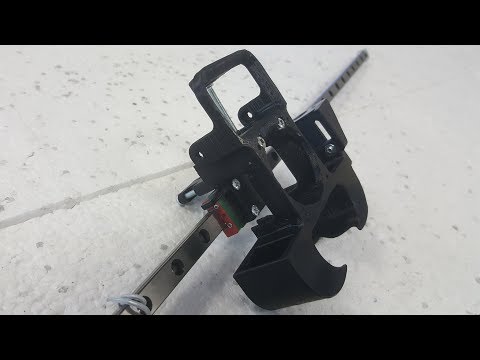
Установка рельс на ось X 3D принтера Tevo Tornado. Часть 2Подробнее
ЦВЕТНАЯ ПЕЧАТЬ? ЛЕГКО! 3D ПРИНТЕР TEVO TORNADOПодробнее
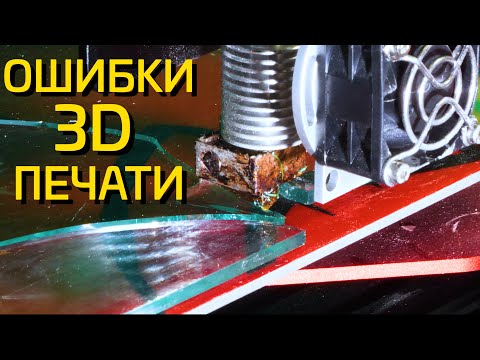
Частые ошибки начинающих. Объясню как победить 3D-принтерПодробнее
3D принтер TEVO Tarantula PRO. Распаковка сборка печать.Подробнее
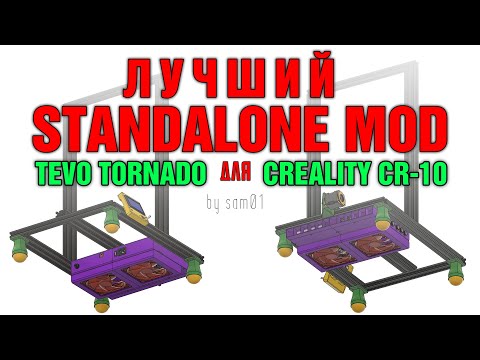
Лучший Standalone Mod для Tevo Tornado, Creality CR-10 и т.п. Часть 1.Подробнее
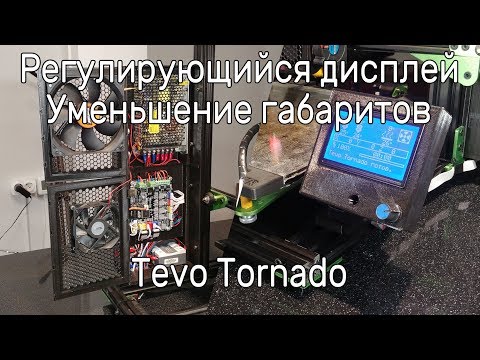
Регулирующийся дисплей и уменьшение габаритов Tevo Tornado.Подробнее
Доработка оси X 3D принтера Tevo Tornado. Рельсы, новый обдув.Подробнее
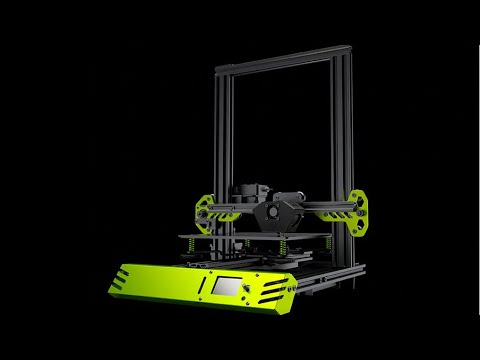
Обзор 3D принтераTEVO Tornado. TEVO Tornado 3D Printers.Подробнее
Магическая распаковка и сборка 3Д-принтера Creality Ender-3. Первая печатьПодробнее
Актуальное
Table of Contents
Getting Started

Rui Cabral made a great a video on getting the printer setup
Many people have reported issues trying to print from the supplied SD card. The card that they provide is a cheap and unreliable card. You should purchase a name brand SD card or use a known good one, it will save you a lot of headaches later on.
After unboxing your printer, make sure that all of the components are included and that nothing has been damaged in shipping.
The main suspects tend to be the Y motor bracket and the Y carriage.
Y Carriage
It is a good idea to check the Y carriage wheels before attaching the Z gantry to the frame. The carriage should roll smoothly back and forth, without much effort.
Adjusting V slot wheels
Also inspect the belts and pulleys to make sure that the pulleys are in a straight alignment with each other. If the pulleys are misaligned the belts can wear prematurely.
Also, before assembling make sure the carriage is flat and that none of the corners where the bed attachment points are bent.
Y motor bracket
The Y motor bracket can be bent during shipment/removal from packaging. This can cause unneeded wear on the belt, noise, and possibly even failure to hit the Y end stop.
Users have simply bent the bracket back to 90degrees in most cases. You can also use a zip tie to keep it secure.
Attaching the bed
Attach the bed using the 4 allen screws, springs and thumb knobs. Tighten the bed down so that the bottom of the screws do not drag on the front or rear of the frame while sliding the bed from the front back. Run the bolt through the top of the bed and then sandwich the spring in between the bed and the Y carriage. Finally thread the screw into the thumb knob.
Users have designed enlarged knobs that the existing thumb knobs press into. This allows the bed to leveled easier. Take a look at the Things to print page.
Attaching the Z gantry
Attach the bottom assembly to the Z gantry with the 4 M5 bolts and lock washers. Verify the gantry is square to the bottom.
Install the two T shaped braces on either side of the printer. The T bracket with the Z end stop will be installed on left upright (while looking at the printer from the front). It helps to start the nuts onto the screws and slide the whole assembly into the slots before tightening it all together.
Verify again that the gantry is squared to the frame.
Extruder setup
Inspect X axis
Make sure the pulleys are properly aligned with each other. If they aren’t you can have premature wear on the belt.
Make sure the belt is tight and not loose.
Make sure that the brackets that attach the X axis to the Z axis are in alignment, If they are off it can cause your X axis to be lower on one side and cause great difficulty in bed leveling.
Also verify the V slot wheels are adjusted properly