
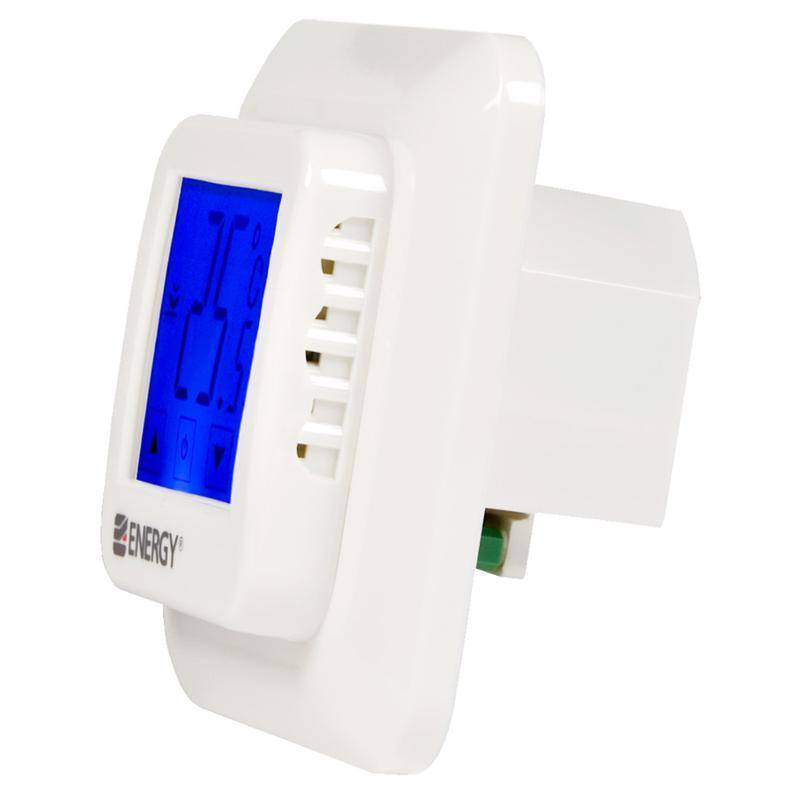
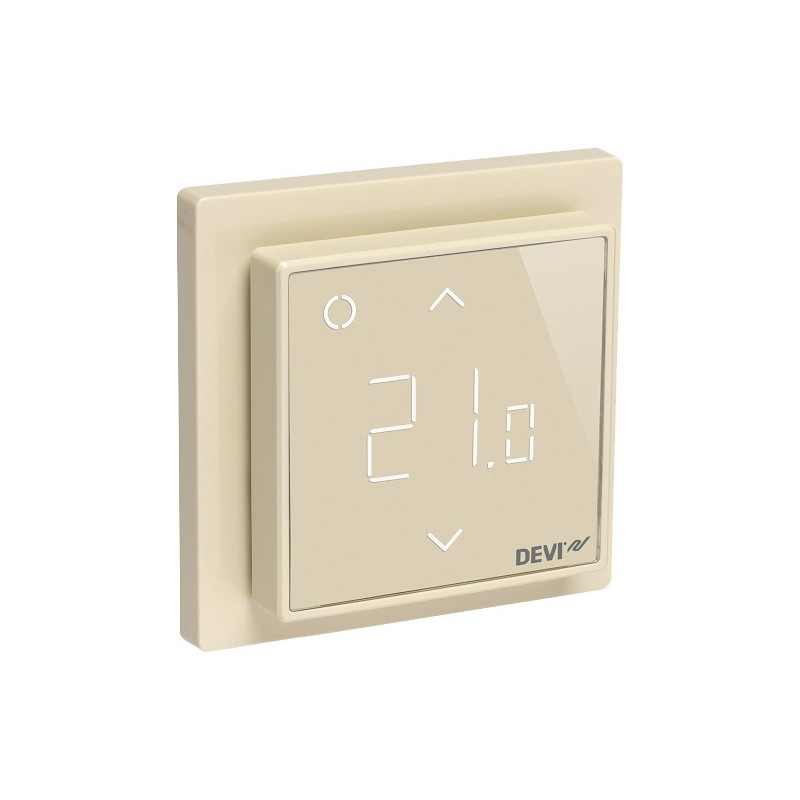
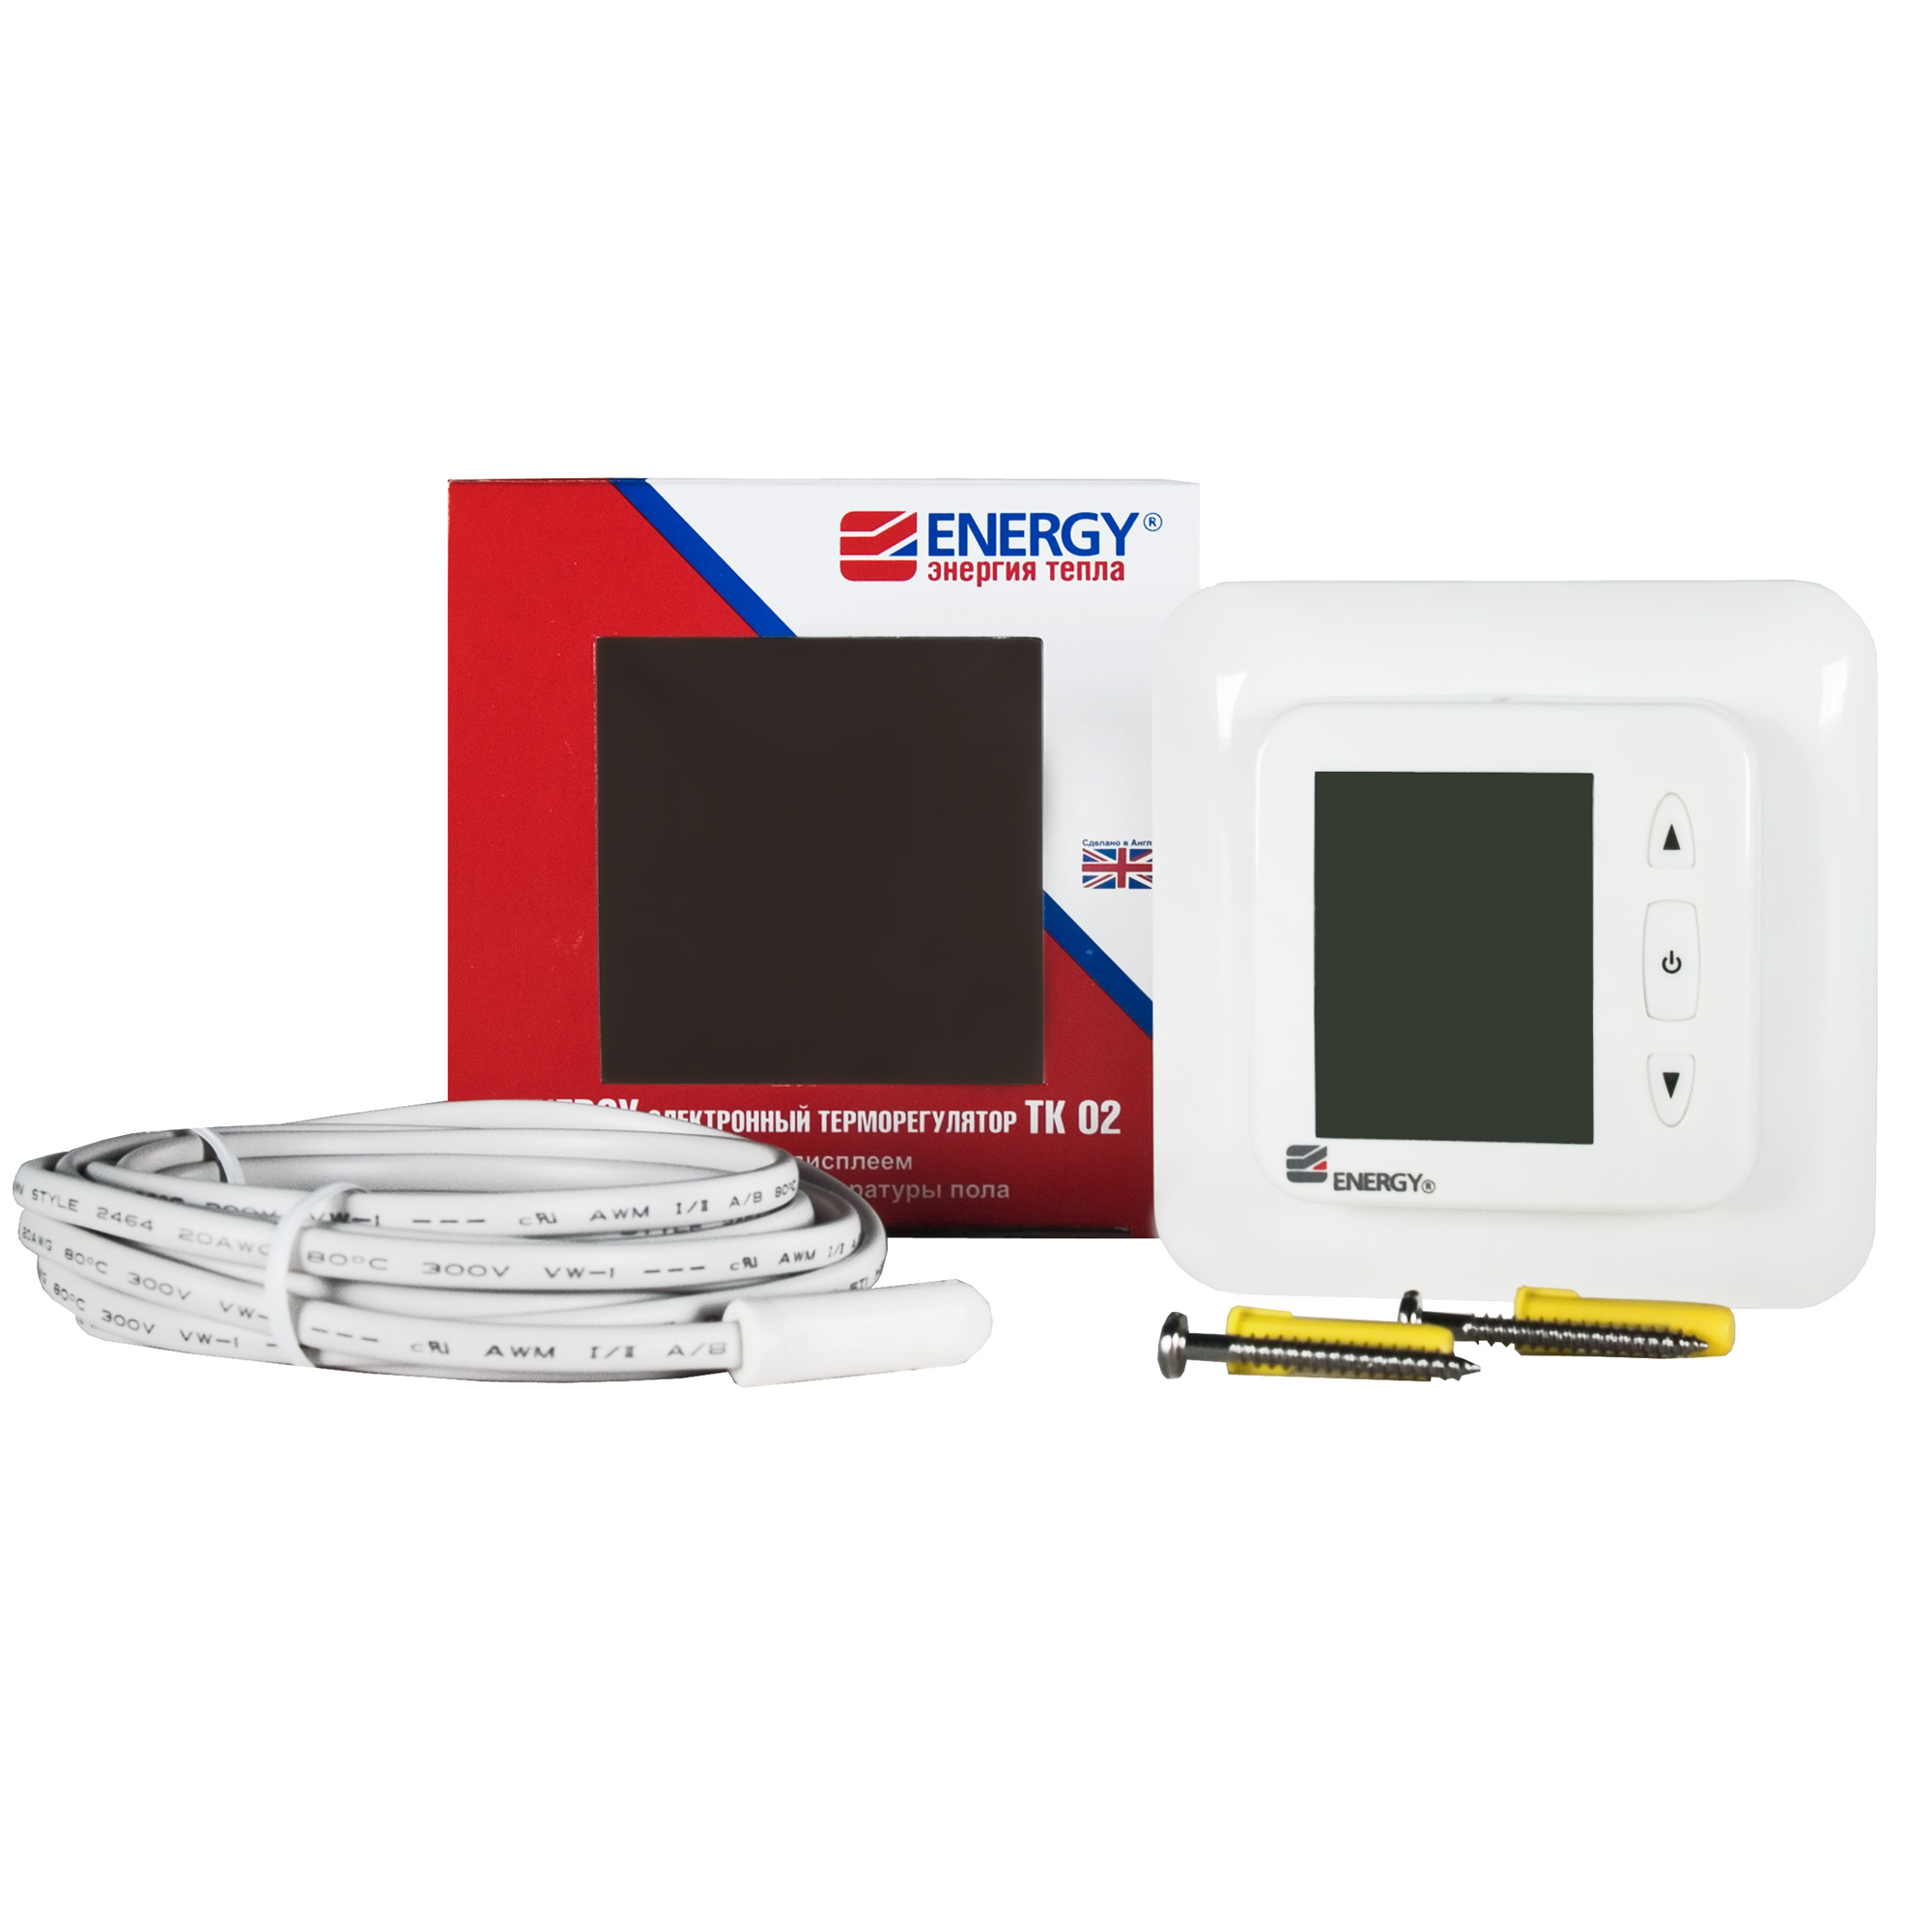
Электронный терморегулятор с выносным термодатчиком и большим жидкокристаллическим дисплеем Energy TK02 устанавливается в стандартную электромонтажную коробку. Размеры терморегулятора соответствуют размерам выключателя «евростандарт», поэтому он может использоваться в стандартных единых монтажных рамках совместно с другими выключателями.
Температура регулируется в диапазоне +5oС — +40oС. Термостат управляется тремя кнопками, находящимися на лицевой части прибора. Информация о режиме работы и текущей температуре отображается на жидкокристаллическом дисплее. Одновременно с нажатием кнопки включается оранжевая подсветка, что позволяет настраивать устройство даже в темном помещении.
Благодаря высокой точности установки температуры существенно сокращается время работы тепловой системы, как следствие, снижаются расходы на потребляемую электроэнергию.
Термостат Energy TK02 подходит для любых систем электрического отопления внутри помещений. Защита корпуса терморегулятора от конденсата (IP 21) допускает установку даже во влажные помещения. Также предусмотрено автоматическое отключение нагревательной секции в случае выхода датчика температуры пола из строя.
Характеристики:
— Напряжение питания сети: 230 В переменного тока, 50/60 Гц
— Коммутируемая нагрузка: до 14 А, 3200 Вт, при напряжении сети 230 В
— Собственное потребление: 1 Вт
— Датчик температуры: выносной, тип NTC (отрицательного температурного коэффициента) 10 кОм
— Подводящий кабель к датчику температуры, м: 3
— Температура окружающей среды: от 0oС до +50oС
— Рабочая влажность: 5% — 90%
— Принцип регулирования: ВКЛ./ВЫКЛ
13.01.2015
•
Views
Share
Embed
Flag
Инструкция на терморегуляторы Energy TK02 и TK03 — Euro-heat.ru
Инструкция на терморегуляторы Energy TK02 и TK03 — Euro-heat.ru
SHOW MORE
SHOW LESS
ePAPER READ
DOWNLOAD ePAPER
- TAGS
- web-climat.ru

web.climat.ru
Create successful ePaper yourself
Turn your PDF publications into a flip-book with our unique Google optimized e-Paper software.
START NOW
-
More documents
-
Recommendations
-
Info
Delete template?
Are you sure you want to delete your template?
Save as template?
Title
Description
no error
![]()
products
- FREE
- adFREE
- WEBKiosk
- APPKiosk
- PROKiosk
Resources
- Blog
- API
- Help & Support
- Status
Company
- Contact us
- Careers
- Terms of service
- Privacy policy
- Cookie policy
- Cookie settings
- Imprint
Terms of service
Privacy policy
Cookie policy
Cookie settings
Imprint
![]() Change language
Change language
Made with love in Switzerland
© 2023 Yumpu.com all rights reserved
Хотите наладить комфортную температуру в своем доме и сэкономить на отоплении? В данной инструкции вы найдете полезные советы и идеи использования терморегулятора Energy TK0Узнайте, как правильно установить и настроить устройство, а также как снизить расходы на отопление при помощи интеллектуальных режимов работы.
Видеоинструкция настройка терморегулятор теплый пол Energy — модель TK08 (ТК08)
Правильная установка терморегулятора: размещайте его вблизи от радиатора для точного контроля температуры.
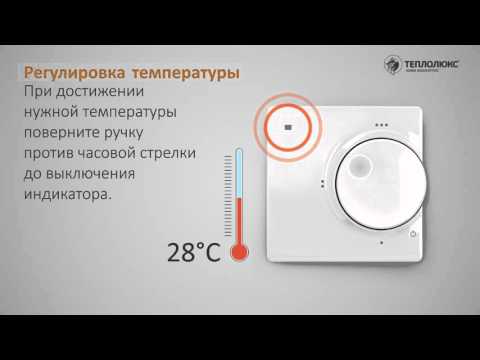
Механический терморегулятор для тёплого пола. Инструкция по эксплуатации

ENERGY TK02
Используйте программные режимы: настройте расписание работы терморегулятора в соответствии с вашим графиком активности, чтобы не отапливать пустующее помещение.
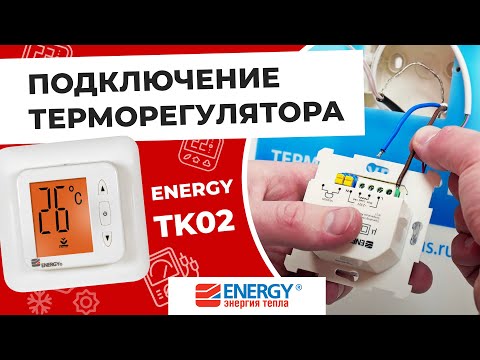
Подключение терморегулятора теплого пола Energy TK02
Включайте экономический режим: используйте режим экономии энергии, чтобы снизить расходы на отопление при сохранении комфортной температуры в помещении.
Электронный Терморегулятор Розеточный EF16P для Обогревателей — Инструкция по Монтажу
![]()
ELECTRONIC THERMOSTAT ENERGY
USER-MANUAL
Dear customer!
Thank you for choosing our product!
Electronic thermostat Energy has passed through many tests to meet the requirements of high quality product.
We hope it will legitimate your expectations and will be effective while using.
CAUTION! Please, read this user-manual careful and keep it safe during the whole operation period for this electronic thermostat.
I. TECHNICAL DATA
| Sensing element floor sensor: NTC 10 kOhm | |
| Sensor cable: 3m | |
| Temperature measurement: from 0°C till 45°C in step 0.5°C | |
| Temperature control range: from 5°C till 40°C in step 0.5°C | |
| Operating temperature: 0°C – 50°C | Operation humidity: 5% – 90% |
| Maximum heating power: 3200W | Input voltage: 230V, 50/60Hz |
| Power consumption: 1 W | Terminals:1-2,5mm2 flexible conductor wire |
| Load: 14A | Protection: IP 21 |
| Dimensions: 81x81x50MM | Weight: 0.1 kg |
| Certification: CE, EAC |
II. INSTALLATION MANUAL
CAUTION! Power off the thermostat and the electronic device (e g heating cable) which will be connected and the electric source before installation and maintenance. It is highly recommended that the installation procedure is processed by trained personnel.
III. SENSOR INSTALLATION
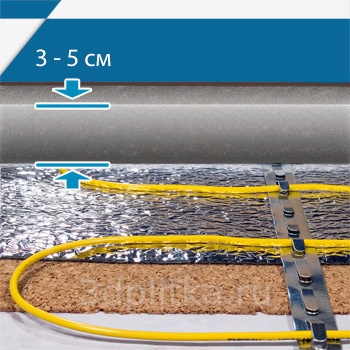
- Place the sensor with cable inside the corrugated pipe (diameter not less than 16mm). Bending radius of corrugated pipe not less than 5 cm (see Figure 1).
- Plug one end of corrugated pipe via waterproof cork (to prevent the water or cement grout penetration inside); place the corrugated pipe with sensor in a hole between the nearest coils of heating cable.
It is recommended to place the end of corrugated pipe with the sensor inside as much closer as possible to the upper floor layer - Place the second end of corrugated pipe near with the connection box for thermostat.
There is a possibility to lengthen the cable for sensor until 10 m
 Figure 1
THERMOSTAT INSTALLATION
Electronic thermostat Energy is restricted to be used in indoor only.
It should be mounted on an inner wall about 1-1.5m above the floor in easy of approach place with free air circulation (see Figure 1).
The thermostat is protected from steam condensate and could be mounted in bathroom. It is not recommended to mount the thermostat near with the equipment which could shed a warm (TV, refrigerator, heater) and also in a places where it will could be exposed to direct sunshine. It is prohibited to mount the thermostat in a places where it could be exposed of dripping or splashing.
ELECTRICAL CONNECTION
CAUTION! Turn off the electric source before wiring.
1. Place into the wall the standard plastic wall socket and lead inside the electrical wires of mains electricity 230V, heating cable and temperature sensor.
The length of leads without insulation layer must be as follows:
– for wires of mains electricity and electrical wires of heating cable 6 mm.
– for wires of temperature sensor – 8mm
The ends of multicore cable used to be soldered to avoid the possibility of short circuit.
2. Fix the electrical wires of temperature sensor in spring-loaded contacts (see Figure 2) of blue color SENSOR (using the yellow clips).
The polarity of these wires is equal.
3. Fix the ends of electrical wires of heating cable in inner screw joint contacts of green color Max.Load 14A.
4. Connect the outlets of screen from heating cable with the earth conductor of three-phase electrical network using the external terminal contact (not enter into the terminal block of thermostat)
5. Fix the electrical wires of neutral cable from main electricity in a green screw joint contact N.
6. Fix the electrical wires of load cable from main electricity in a green screw joint contact L.
7. Make sure that all connection are fixed enough strong and save.
 Figure 2
MOUNTING
- Press on the catch on the top edge of the top housing using the screw and take away the front plastic frame (see Figure 3);
- Unscrew the two self-tapping screw (which fasten the top hosing to the bottom hosing) and take away the display block (do not take away the self-taping screws from the display block);
- Take away the middle plastic frame from the bottom housing of thermostat (do not take away the inter block insulation gasket from the housing);
- Place the bottom housing in a wall socket. Make sure that the wires are easily placed inside the wall socket to be sure that they will not be wedged between wall and thermostat. Fix the thermostat by the screws;
- Place the plastic frame over the bottom housing;
- Holding the plastic frame, place the top housing with display over the plastic frame, make sure that left and right grooving are in the correct position to the response holes of bottom housing and fix it to the bottom housing by the two self-taping screws;
- Make sure that all part of thermostats fit to each other and have no backlash;
- Place the front plastic panel over the display block, make sure that all buttons are correctly placed in the exact grooving, after that, lock the front panel on the display block by the catch on the top edge.
 Figure 3
III. OPERATING MANUAL
MODEL TK02 LCD
Normal mode.
Press and hold the key ![]() for three second (see Figure 4) – the orange light turns on, display goes to the Normal mode, on the display there will be indicated:
for three second (see Figure 4) – the orange light turns on, display goes to the Normal mode, on the display there will be indicated:
Caution! If the floor sensor is disconnected or damaged – the symbol ![]() appears, the icon
appears, the icon ![]() disappears, the heating cable is OFF.
disappears, the heating cable is OFF.

Figure 4
Temperature setting up.
- At Normal mode press
 – the icon
  and the set temperature appears (default set temperature is 25°C);
 - Press to increase ( decrease) the set temperature value in step 0.5°C (press and hold the key or to fast advance the set temperature value in 4Hz).
Display returns to the Normal mode when no keys are pressed in 10 seconds, the icon ![]() disappears, the icon of the current floor temperature
disappears, the icon of the current floor temperature ![]() appears.
appears.
Thermostat operates as follows:
Off mode.
At Normal mode press and hold the key ![]() for three seconds will put the thermostat in OFF mode – the LCD display is blank, the heating cable is OFF, all keys are disabled except the
for three seconds will put the thermostat in OFF mode – the LCD display is blank, the heating cable is OFF, all keys are disabled except the ![]() .
.
MODEL TK03 LCD PROGRAMABLE
Normal mode.
Hold the key ![]() (see Figure 5) for 3 second -the orange light turns on, display goes to the Normal mode, on the display will be indicated:
(see Figure 5) for 3 second -the orange light turns on, display goes to the Normal mode, on the display will be indicated:

Figure 5
Current floor temperature checking.
At Normal Mode press and hold the keys ![]() and
and ![]() the icon
the icon ![]() appears and the current floor temperature will be indicated, herewith:
appears and the current floor temperature will be indicated, herewith:
- if the floor temperature is lower than 0°C -the symbol LO appears
- if the floor temperature is higher than 40°C – the symbol HI appears
- if the floor sensor is disconnected or damaged – the symbol
 appears
The display will return to Normal mode after the keys ![]() and
and ![]() release.
release.
Program Setting mode.
In Program Setting Mode you can return to Normal Mode any time by pressing the key ![]() .
.
Display goes automatically to the Normal Mode when no key is press during the 20 seconds.
In case of microprocessor fault there is a Reset key in a hole ![]() – it reset the thermostat a turn it to the default settings.
– it reset the thermostat a turn it to the default settings.
CAUTION! In case of main electricity net disconnection the thermostat returns to default settings.
Time Setting mode
At Normal Mode press (by some thin non-sharp thing) the key in the hole ![]() – the set value Minute will flash. Pressing the key
– the set value Minute will flash. Pressing the key ![]() will increase (
will increase ( ![]() decrease) the set value (press and hold or to fast advance the set value in 4Hz.)
decrease) the set value (press and hold or to fast advance the set value in 4Hz.)
Program Setting Mode
Thermostat TK03 has an option of 4 program settings for the days from Monday to Friday (1-5) and 2 program settings for the day Saturday-Sunday (6-7). For each program it is necessary to set the start time from 00:00 to 23:50 with a step of 10 minutes and floor temperature from 5°C to 40°C in step 0.5°C. The minimum working time for each program is 10 minutes.
Default settings:
|
Day |
Icon | Program | Start Time | Set temperature |
| Monday-Friday (1-5) | Morning | 06:00 |
25°C |
|
| Day | 08:00 | 20°C | ||
| Evening | 19:00 |
25°C |
||
| Night | 23:50 | 20°C | ||
| Saturday – Sunday (6-7) | Morning | 09:00 |
25°C |
|
| Night | 23:50 |
20°C |
- To change the program press the key in the hole P (by some thin non-sharp thing) for 3 seconds – enter to Program Setting mode – the start time of the first program
 Morning will appear and flash;
 - Pressing the key will increase ( decrease) the start time of the first program in step of 10 minutes (press and hold or to fast advance the start time in 4Hz), set the necessary start time and press – the program set temperature will appear and flash;
- Pressing the key will increase ( decrease) the set temperature value of the first program in step of 0.5°C (press and hold or to fast advance the set temperature value in 4Hz), set the necessary temperature value and press – the start time of the next program will appear and flash;
- Repeat the procedures 2 to 3 to set the start time and the necessary temperature value for all the following five programs.
- After the temperature value is set for the last program the display will return to Normal mode.
Early start.
Thermostat TK03 has an additional option called Early start that operates automatically:
the first program ![]() Morning will be started earlier (but no more than 60 minutes) based on last day’s actual performance so that the floor temperature should be reached the set temperature at the scheduled time.
Morning will be started earlier (but no more than 60 minutes) based on last day’s actual performance so that the floor temperature should be reached the set temperature at the scheduled time.
Manual Override mode.
The Manual Override mode is using to override the program set temperature value temporary, it will be released until the next program:
- At Normal mode press and hold the key for 2 second – the set temperature value for current program displays;
- Pressing the key will increase ( decrease) the set temperature value in step 0.5°C (press and hold the key or to fast advance the temperature value in 4Hz);
- After the necessary temperature value is set, press the key
 – the display will go to Manual Override mode, the icon will appear.
The thermostat will work according to the manually set temperature value until the start of next program.
To exit the Manual Override mode press and hold for 2 seconds the key ![]() – display will return to Normal mode, the icon
– display will return to Normal mode, the icon ![]() disappear, the thermostat resume to the work according to the running program.
disappear, the thermostat resume to the work according to the running program.
OFF mode.
At Normal mode hold the key ![]() for 3 second will put the thermostat in OFF mode – the LCD display is blank, the heating cable is OFF, all keys are disabled, except the key
for 3 second will put the thermostat in OFF mode – the LCD display is blank, the heating cable is OFF, all keys are disabled, except the key ![]() .
.
![]()
Documents / Resources
References
- User Manual