L
imited
W
arranty
I
nformation
Lightning Audio offers a limited warranty on products subject to the following terms:
• Length of warranty:
Speakers — One year replacement warranty from date of original purchase — requires proof of purchase.
Amplifiers — One year replacement warranty from date of original purchase — requires proof of purchase.
• What is covered:
This warranty applies only to Lightning Audio products sold to consumers by an authorized Lightning Audio Dealer in the United States
of America. Products purchased by consumers from an authorized Lightning Audio Dealer located outside of the USA are covered by
the authorized Lightning Audio Distributor for the country in which the products were purchased.
• Who is covered:
This warranty covers only the original purchaser of Lightning Audio product purchased from an authorized Lightning Audio Dealer
in the United States. In order to receive service, the purchaser must provide Lightning Audio with a dated copy of the sales receipt
stating the customer name, dealer name and product(s) purchased. Products found to be defective during the warranty period will be
replaced (with a product deemed to be equivalent at Lightning Audio’s sole discretion) by Lightning Audio.
• What is not covered:
1. Damage caused by accident, misuse, abuse, improper installation or operation, water or moisture, excessive heat, theft, or ship-
ping
2. Any cost or expense related to the removal or reinstallation of product
3. Items previously repaired, serviced or modified by an unauthorized service center
4. Any product which has had the serial number defaced, altered, or removed
5. Subsequent damage to other components
6. Any product purchased outside the U.S.
7. Any product not purchased from an authorized Lightning Audio Dealer
• Limit on implied warranties
Any implied warranties of fitness for use and merchantability are limited in duration to the period of the express warranty set forth
above. Some states do not allow limitations on the length of an implied warranty, so this limitation may not apply. No person is autho-
rized to assume for Lightning Audio any other liability in connection with the sale of the product.
• How to obtain service
Defective products should be returned to your local authorized Lightning Audio Dealer for warranty service or, you may call 1-888-
881-8186 for Lightning Audio customer service. You must obtain an RA# (Return Authorization number) prior to returning any
product to Lightning Audio. Return Authorizations are valid for 30 days. You are responsible for the shipment of defective product to
Lightning Audio and you MUST include valid proof of purchase. Mark your RA# clearly on outside of your shipping carton. Products
received without a valid RA# will be refused and returned to sender at sender’s expense.
955 N. Fiesta Blvd, Suite 4 • Gilbert, Arizona 85233 U.S.A. • (800)726-8178
If…
Then…
Fix…
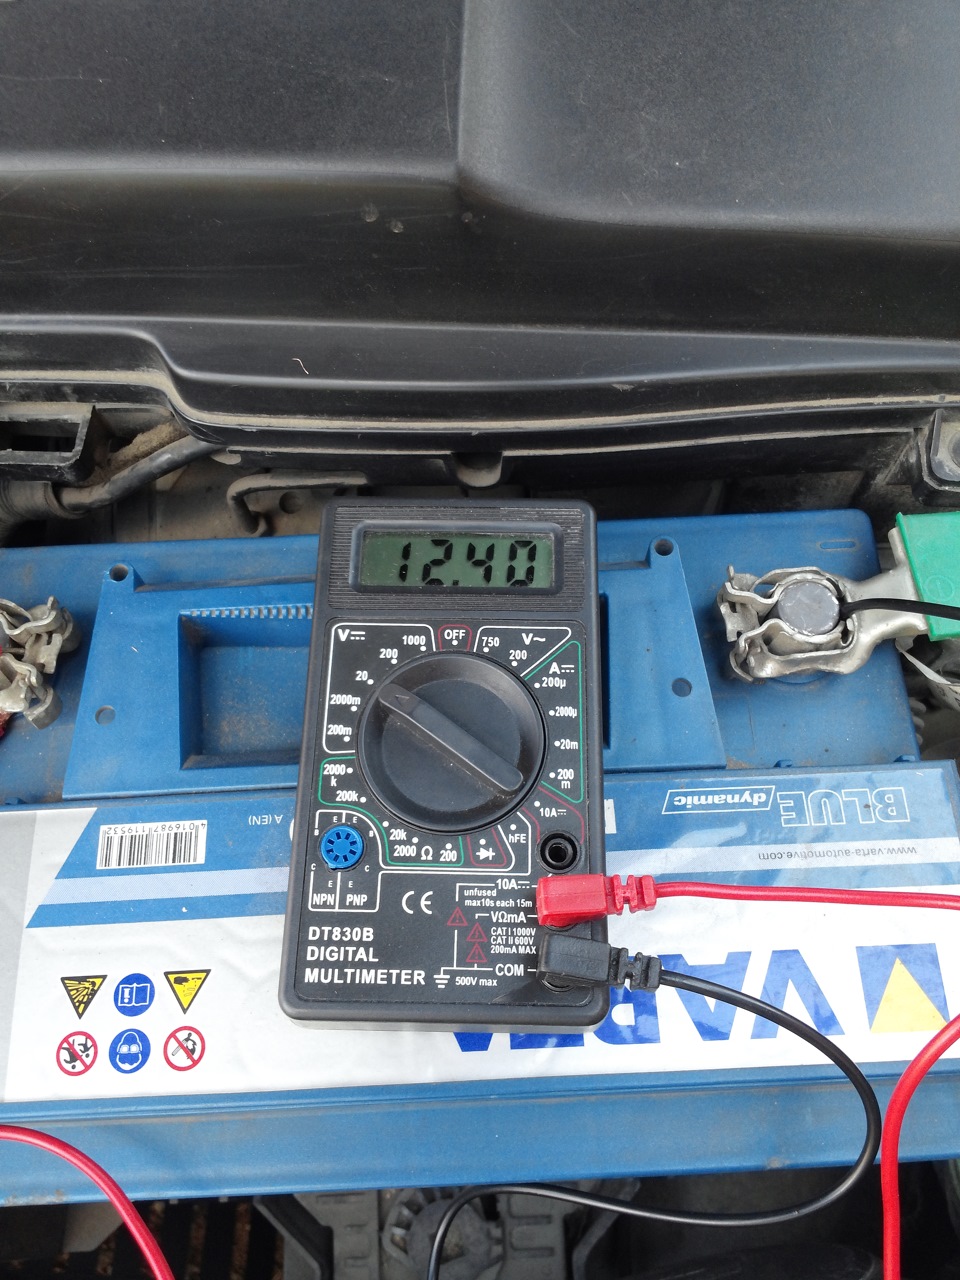
Amplifier does not turn on B+ or REM not between 10.5 and 15.5 or no voltage present Check the alternator, battery, fuse, and wiring. Repair as
necessary
Amplifier Noise
Amplifier is not properly grounded
Check wiring and repair as necessary
Turn-On Pop
Voltage spike from source unit is entering amplifier’s input
Connect a relay turn-on module to REM terminal if pops are
eliminated with no input signal to amplifier
Engine Noise
Noise is radiating into signal cables
Re-route signal cables away from sources of high current
Troubleshooting
1230-56437-02
08/2010 E.W.R.
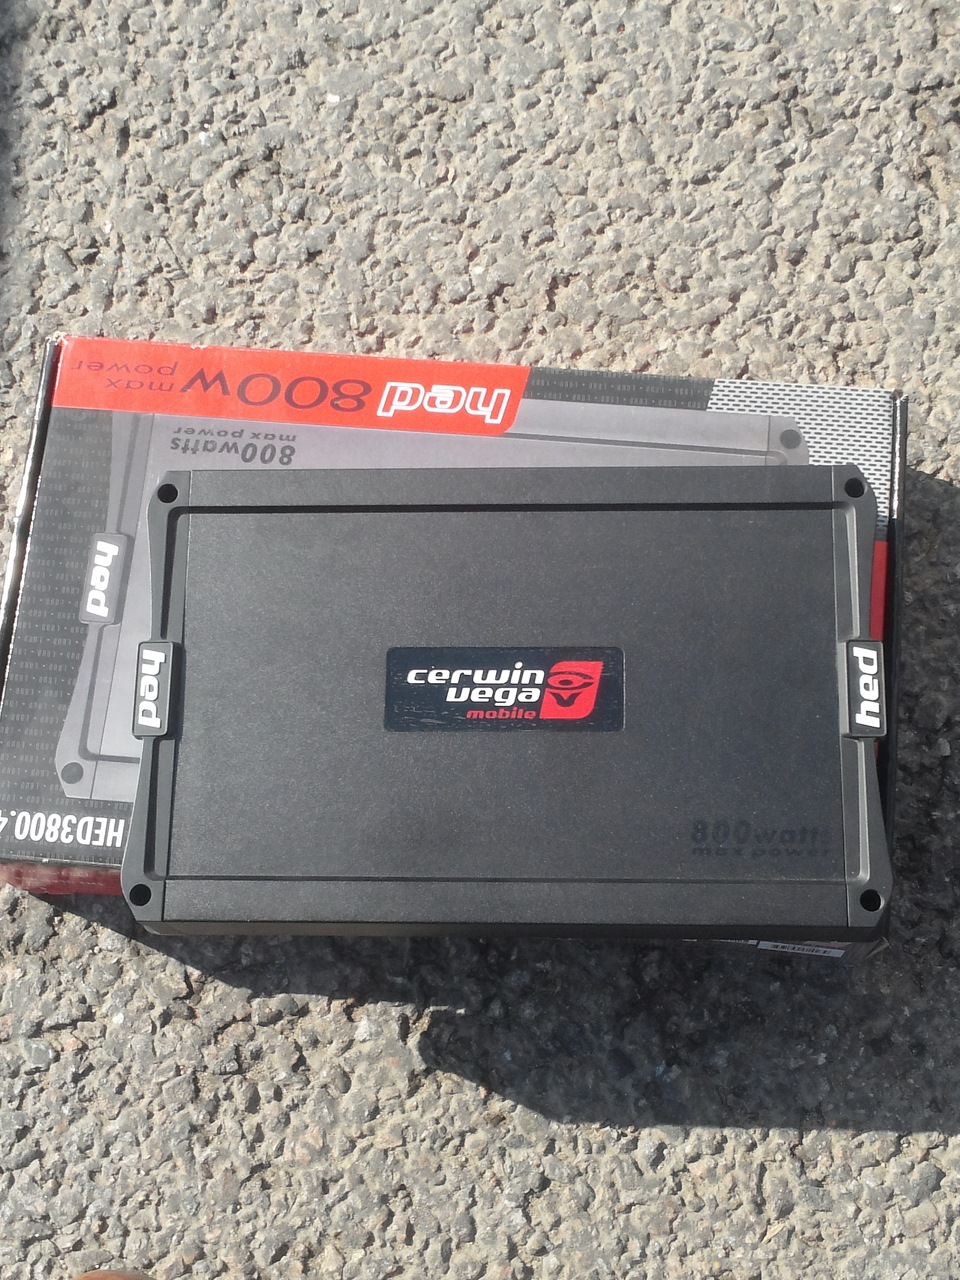

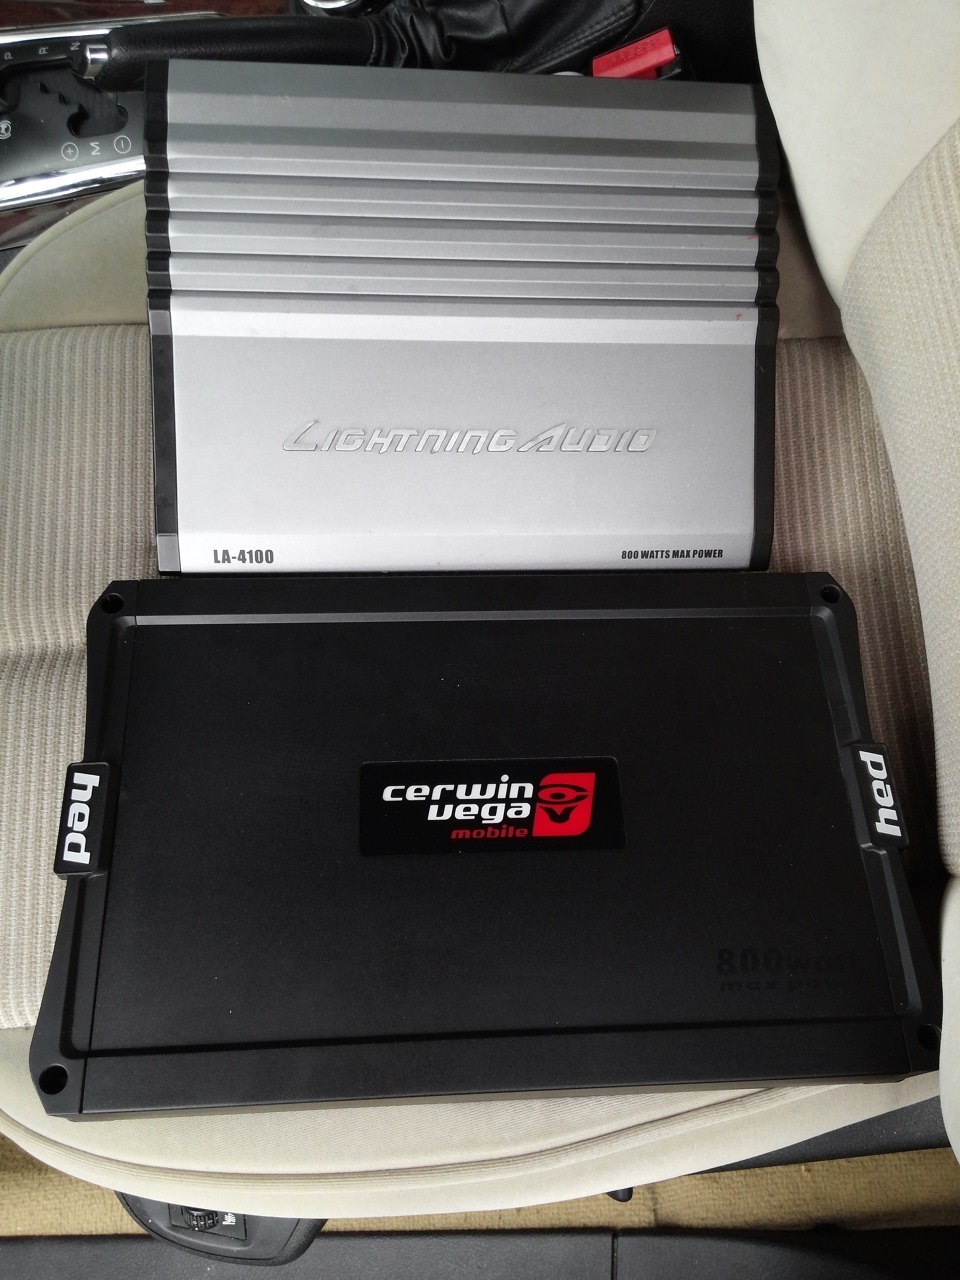
Lightning Audio LA-4100 усилитель четырех канальный
Описание Lightning Audio LA-4100:
ФНЧ: 40-150 Гц;
ФВЧ: 60-1200 Гц;
Hi-level входы;
Линейный выход;
Bass Boost: 0-+12 дБ (45 Гц),
Технические характеристики Lightning Audio LA-4100:
Номинальная мощность в мостовом включении, 4 Ом: 200 Вт х 2
Номинальная мощность, 2 Ом: 100 Вт х 4
Номинальная мощность, 4 Ом: 50 Вт х 4
Число каналов (тип усилителя): 4
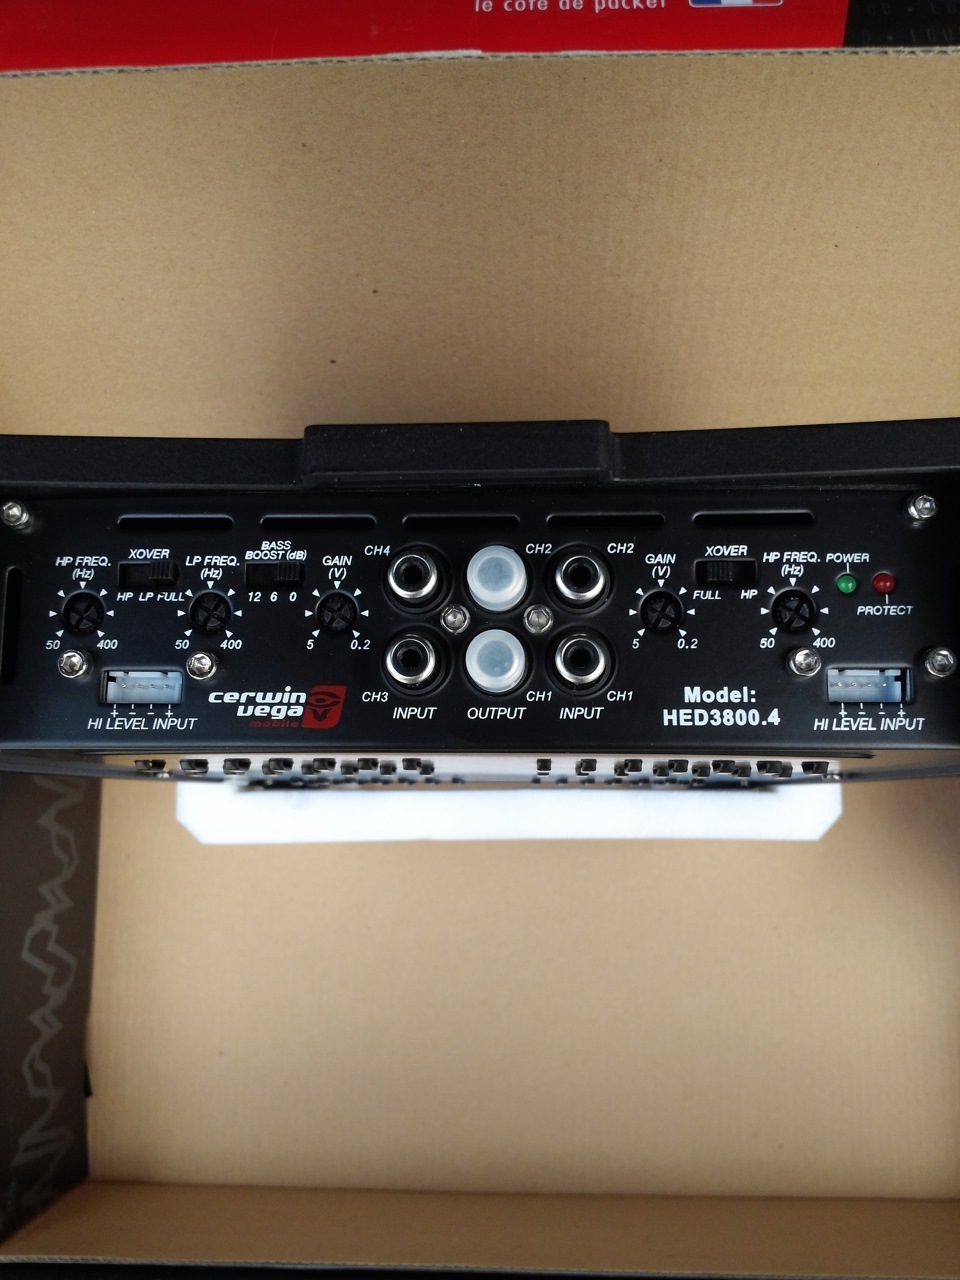
Cerwin vega mobile HED3800.4 усилитель четырех канальный
Технические характеристики:
мощность RMS при нагрузке в 4Ом = 80Вт на канал (всего 4 канала)
мощность RMS при нагрузке в 2Ом = 160Вт на канал (всего 4 канала)
мощность RMS при нагрузке в 4Ом (мостовое подключение/моно) = 300Вт на канал (всего 2 канала)
частотный диапазон 10Гц-50кГц,
отношение сигнал/шум более 104Дб, ФНЧ 50Гц-400Гц
ФВЧ 50Гц-400Гц,
басс буст 0-12Дб@45Гц, «>
Измерения: Юрий ЕВТУШЕНКО
Корпус усилителя Lightning Audio смотрится изящно благодаря строгому серебристо-чёрному цветовому оформлению. Внешние рёбра достаточно развиты, а потому даже при максимально плотной инсталляции не будет проблем с отводом тепла (при наличии принудительного охлаждения). Суммарный номинал двух предохранителей 40 А. Силовые зажимы рассчитаны на кабель диаметром до 6 мм, выходные зажимы принимают кабель до 4,5 мм. Линейные выходы непрямые, на них поступает сигнал от входов 1/2. Предусмотрены входы уровня громкоговорителей. Как положено, аппарат может работать и с двумя входами, в этом режиме используются входы 1/2. В остальном обе пары каналов равноправны. Басовый регулятор призван обеспечить максимальный подъём 12 дБ на обычной частоте 45 Гц, он не действует при включённом фильтре ВЧ. Диапазон перестройки частоты среза фильтра НЧ от 30 до 250 Гц. Частоту среза фильтра ВЧ можно регулировать в диапазоне 60 — 1200 Гц. Из двух вопросов: как это сделано и зачем, у нас есть ответ только на один.
- Максимальная мощность
(14,4 В, КНИ = 1%, 4 Ом/2 Ом), Вт 69,7/105 - Коэффициент нелинейных искажений
(1 кГц, P = 0,1 Pmax, 4 Ом/2 Ом), % 0,026/0,035 - Входная чувствительность, В 0,21 — 4,1
- Отношение сигнал/шум, дБА 86,5
- Переходное затухание (Л-П/Ф-Т), дБ 71/75,6
- Диапазон частот (+0/-1дБ), Гц 3,4 — 32200
- Скорость нарастания сигнала на выходе, В/мкс 5,7
- Ток холостого хода, А 0,8
- Габариты, мм 302 х 240 х 58
Показатели мощности — образец разумной достаточности, а с учётом того, что за все эти ватты просят всего 150 американских рублей, результат, можно сказать, замечательный. Уровень шумов слегка повышен, на спектрограмме видно, что уровень шумовых составляющих выше 2 кГц возрастает. Частотный диапазон поверху достаточно широкий, как вы позже увидите, в нынешней группе это своего рода редкость.
После подключения нагрузки ёмкостного характера потребляемый ток возрастает на 7%, а в прямоугольном сигнале появляется помеха с частотой 450 кГц и относительным уровнем 8%.
Басовый регулятор даёт максимальный подъём 12,5 дБ на центральной частоте 47,2 Гц. Диапазон перестройки частоты фильтра НЧ от 33,2 до 243 Гц, эффективная крутизна спада одновременно меняется от 10,0 до 11,5 дБ/окт. У фильтра ВЧ частота среза перестраивается от 58,4 до 1040 Гц, однако крутизна спада меняется существенно, и если на нижней границе диапазона она составляет 12,5 дБ/окт., то к верхней границе падает до 6,0 дБ/окт.

- КТО
- Lightning Audio LA-4100
- ПОЧЁМ
- 4440 руб.
- ЭТО — ПЛЮС
- Линейный выход
- Входы высокого уровня
- ЭТО — МИНУС
- Неоптимальная реализация фильтра ВЧ
- ОДНИМ СЛОВОМ…
- Усилитель с беспрецедентным показателем мощности на единицу затрат
- РЕЙТИНГ
- Мощность 8
- Технические характеристики 8
- Оснащённость 9
- Фильтры 7
- Удобство установки 8
- Итог 40
четырёхканальные усилители до 6200 рублей | Lightning Audio LA-4100 | Kenwood KAC-7405 | Ground Zero GZIA 4115HPX | Ivolga SH-50.4 | ESX SE460 | Precision Power S320.4 | Revolt SS 85.4 | MB Quart FX4.70
Свежие статьи рубрики

LA-2100
|
X-OVER |
LOW |
BASS |
|||
|
L |
LEVEL |
HIGH |
|||
|
POWER |
INPUT |
PASS |
PASS |
BOOSTPROTECT |
|
|
L |
R |
HP |
LP |
||
|
FULL |
|||||
|
HIGH LEVEL |
|||||
|
INPUT |
4V 0.2V |
60Hz 1.2kHz 40Hz 150Hz |
0dB 12dB |
||
|
R |
|||||
|
LINE |
LINE |
||||
|
OUTPUT |
INPUT |
SPEAKER
BRIDGED
LA-4100
|
INPUT |
CH3 |
CH1 |
LEVEL |
BASS BOOST |
HIGH PASS |
LOW PASS |
X-OVER |
CH3/CH4 |
INPUT MODE |
||
|
HIGH LEVEL INPUT |
4CH 2CH |
||||||||||
|
CH3 |
CH4 4V |
L |
|||||||||
|
0.2V |
0dB |
12dB |
60Hz 1.2kHz |
30Hz 250Hz |
FULL LP HP |
||||||
|
LINE |
CH4 |
CH1 |
CH2 |
0.2V |
0dB |
12dB |
60Hz 1.2kHz |
30Hz 250Hz |
X-OVER |
CH1/CH2 |
|
|
CH2 |
4V |
FULL LP HP |
R |
||||||||
|
LINE |
|||||||||||
|
OUTPUT |
LA-4200
|
LEVEL |
BASS |
LOW |
HIGH |
CH3 |
CH1 |
|||||||||
|
X-OVER |
BOOST |
PASS BPF PASS |
INPUTMODE |
|||||||||||
|
L |
LP/BP |
HP |
FULL |
4V |
0.2V |
0dB |
12dB |
30Hz 150Hz |
10Hz 1.2kHz |
CH4 CH2 |
CH3/CH4 |
|||
|
LP/BP |
HP |
FULL |
4V |
0.2V |
0dB |
12dB |
30Hz 150Hz |
10Hz 1.2kHz |
OFF ON |
CH1/CH2 |
CH4 |
CH2 |
||
|
BASS REMOTE |
X-OVER |
BPF |
TWINSUB |
|||||||||||
|
R |
PROTECT POWER |
|||||||||||||
|
LINE OUTPUT |
LINE INPUT |
LA-51000
|
CH5 |
CH4 |
CH2 |
LEVEL |
HPF |
LEVEL |
HPF |
|||||||
|
INPUT |
5V |
0.2V |
CH 3/4 |
10Hz |
150Hz MODE |
5V |
0.2V |
CH 1/2 |
10Hz |
150Hz |
|||
|
FULL HPF |
CH4 CH5 |
FULL HPF |
|||||||||||
|
LINE |
X-OVER |
X-OVER |
REMOTE |
||||||||||
|
CH 5 |
CH 5 |
||||||||||||
|
5V |
0.2V |
15Hz |
55Hz |
0dB |
12dB |
30Hz |
150Hz |
PROTECT |
|||||
|
CH5 |
CH3 |
CH1 |
|||||||||||
|
LEVEL |
SUBSONIC |
BASS EQ |
LPF |
POWER |
|
GND |
REM |
+12V |
POWER |
CH4 |
CH3 |
CH2 |
CH1 |
|
PROTECT |
|||||||
|
POWER |
INPUT |
FUSE |
SPEAKER OUTPUT
|
GND |
REM |
+12V |
CH1 |
CH2 |
CH3 |
CH4 |
|
FUSE |
||||||
|
POWER |
INPUT |
SPEAKER OUTPUT
|
CH1 |
CH2 |
CH3 |
CH4 |
CH5 |
+12V |
REM |
GND |
|
FUSE |
POWER 
SPEAKER OUTPUT
|
Fuse(s): Value dependant on amplifier |
Level Control: Adjust to match |
Speaker Connector |
||
|
power output |
the output levels of the source unit. |
Terminal: positive (+) & negative (-) |
||
|
Power Connector |
Crossover Filter |
Pass Thru Outputs: Out- |
||
|
Terminal: power (B+), ground (GND), & |
Switch: full range (FULL), high-pass (HP), & |
puts the same signal that is fed to the inputs. |
||
|
remote (REM) |
low-pass (LP) |
|||
|
High Level Inputs: Use if the |
Adjustable Crossover |
Subsonic Control: Variable |
||
|
source unit has only speaker line outputs. |
Frequency Control: 12db/Oct; |
subwoofer high pass filter; 15Hz — 55Hz |
||
|
30Hz — 1.2kHz |
||||
|
RCA Inputs: Line level from radio |
Bass Boost: 0dB — 12dB |
Input Mode Switch: Select |
||
|
pre-outs. |
2CH, 3CH, 4CH or 5CH |
|||

|
Model |
LA-2100 |
LA-4100 |
LA-4200 |
LA-51000 |
|||
|
Power |
MAX |
RMS |
MAX |
RMS |
MAX |
RMS |
MAX |
|
Rating |
100 x 2 @ 4Ω |
50 x 2 @ 4Ω 100 x 4 @ 4Ω |
50 x 4 @ 4Ω 200 x 4 @ 4Ω 100 x 4 @ 4Ω |
125 x 4 @ 4Ω / 400 x 1 @ 2Ω |
|||
|
200 x 2 @ 2Ω |
90 x 2 @ 2Ω 200 x 4 @ 2Ω |
75 x 4 @ 2Ω 400 x 4 @ 2Ω 150 x 4 @ 2Ω |
200 x 4 @ 2Ω / 500 x 1 @ 1Ω |
||||
|
400 x 1 @ 4Ω 180 x 1 @ 4Ω 400 x 2 @ 4Ω 150 x 2 @ 4Ω 800 x 2 @ 4Ω 300 x 2 @ 4Ω RMS |
|||||||
|
62.5 x 4 @ 4Ω / 200 x 1 @ 2Ω |
|||||||
|
100 x 4 @ 2Ω / 250 x 1 @ 1Ω |
|||||||
|
Crossover |
12dB/Oct HP/AP/LP |
12dB/Oct HP/AP/LP/BP |
12dB/Oct HP/AP/LP/BP |
12dB/Oct HP/AP/LP |
|||
|
Crossover |
Variable |
Variable |
Variable |
Variable |
|||
|
Frequency |
30Hz — 1.2kHz |
30Hz — 1.2kHz |
30Hz — 1.2kHz |
30Hz — 1.2kHz |
|||
|
Subsonic |
N/A |
N/A |
N/A |
Variable |
|||
|
Filter |
15Hz — 55Hz |
||||||
|
Bass Boost |
0 to +12dB @ 45Hz |
0 to +12dB @ 45Hz |
0 to +12dB @ 45Hz |
0 to +12dB @ 45Hz |
|||
|
(Remote Included) |
(Remote Included) |
||||||
|
Inputs |
RCA / High Level |
RCA / High Level |
RCA |
RCA |
|||
|
Fuse(s) |
15A(2) |
20A(2) |
80A(1) |
80A(1) |
|||
|
Dimensions |
9.5” x 9.4” x 2.3” |
11.8” x 9.4” x 2.3” |
16.5” x 9.4” x 2.3” |
20.3” x 9.4” x 2.3” |
|||
|
(LxWxH) |
|||||||
Installation
Preliminary Considerations:
•If you feel unsure about installing this system yourself, have it installed by a qualified technician.
•Think before you drill! Be careful not to cut or drill into gas tanks, fuel lines, brake or hydraulic lines, vacuum lines or electrical wiring when working on any vehicle.
•Aftermarket amplifiers will put an increased load on the vehicle’s battery and charging system, which can reduce battery and alternator life. It is strongly recommended to upgrade your factory alternator and battery for optimum performance from your new audio system.
CAUTION: Before installation, disconnect the battery negative (-) terminal to prevent damage to the unit, fire and/or possible injury.
1. Choose a mounting location that will be secure and offer plenty of unobstructed space for proper cooling. Then plan the wire routing. Keep RCA cables close together but isolated from the amplifier’s power cables and any high power auto accessories, especially electric motors. When feeding the wires through the firewall or any metal barrier, protect them with plastic or rubber grommets to prevent short circuits. Leave the wires long at this point to adjust for a precise fit at a later time.
NOTE: Never run wires underneath the vehicle.
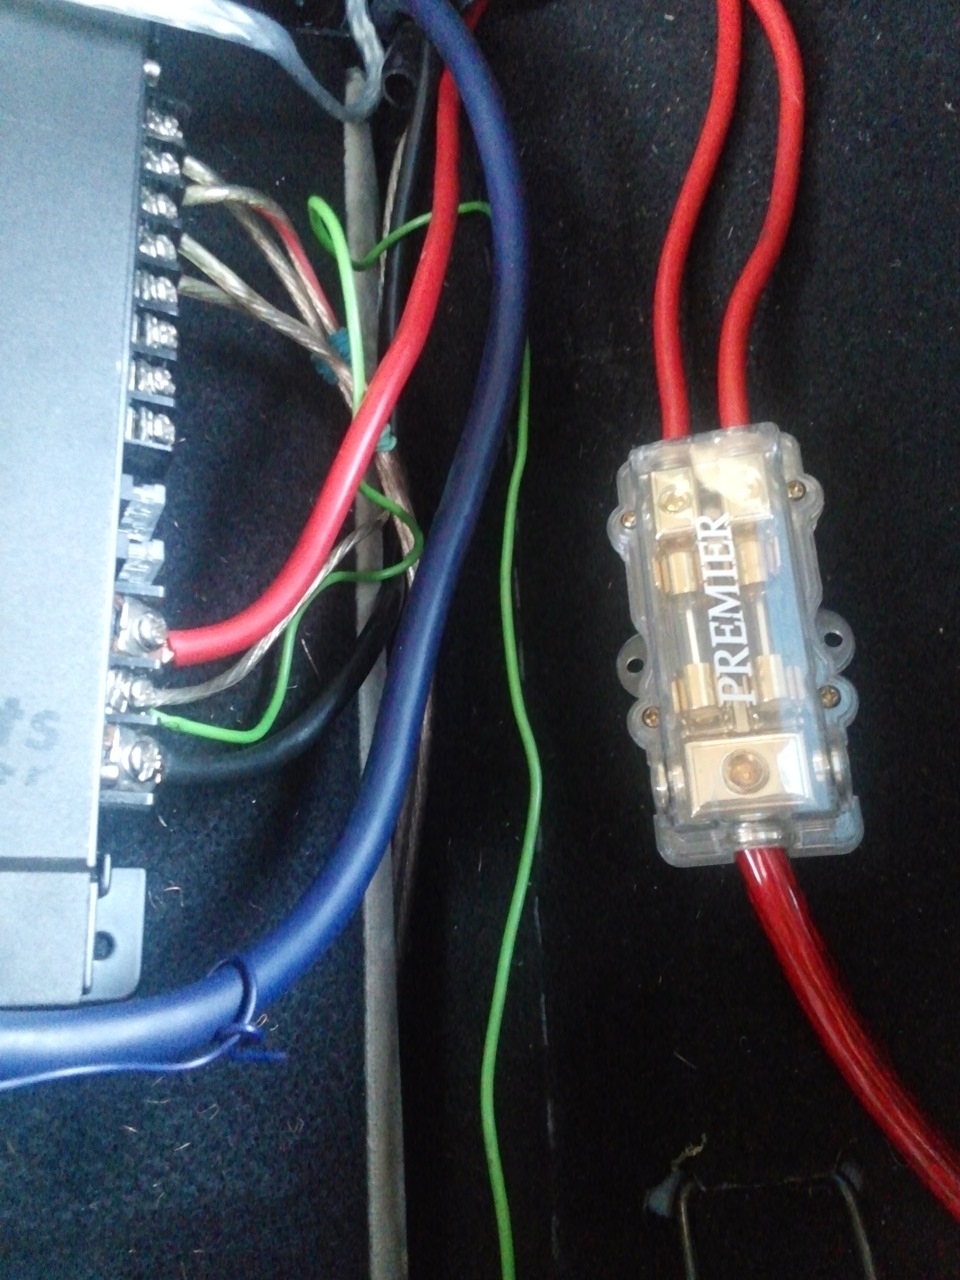
2. Prepare the power cable for attachment to the amplifier by stripping 1/2” of insulation from the end of the wire. Insert the bared wire into the B+ terminal and tighten the setscrew to secure the cable in place.
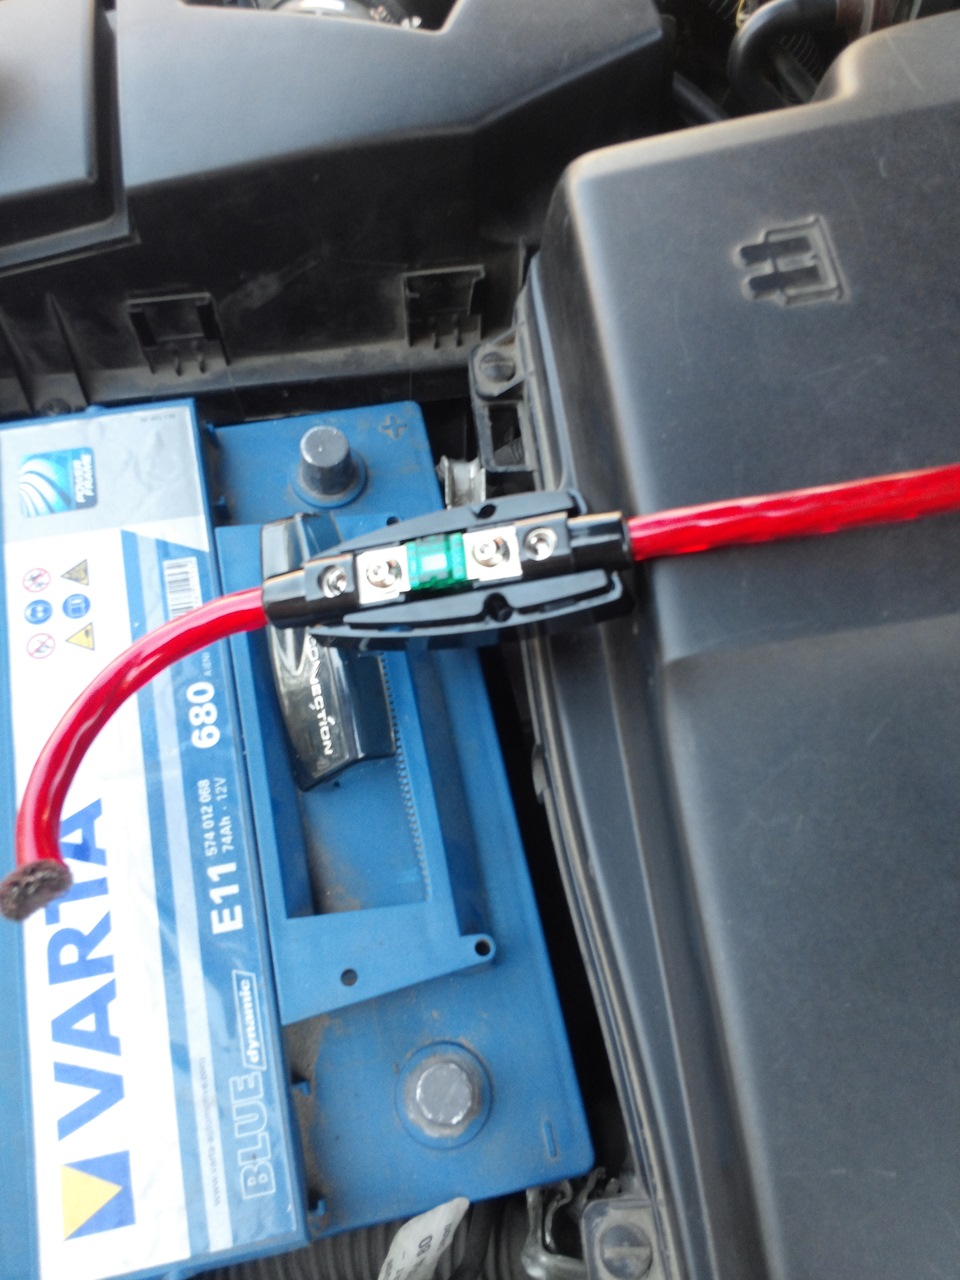
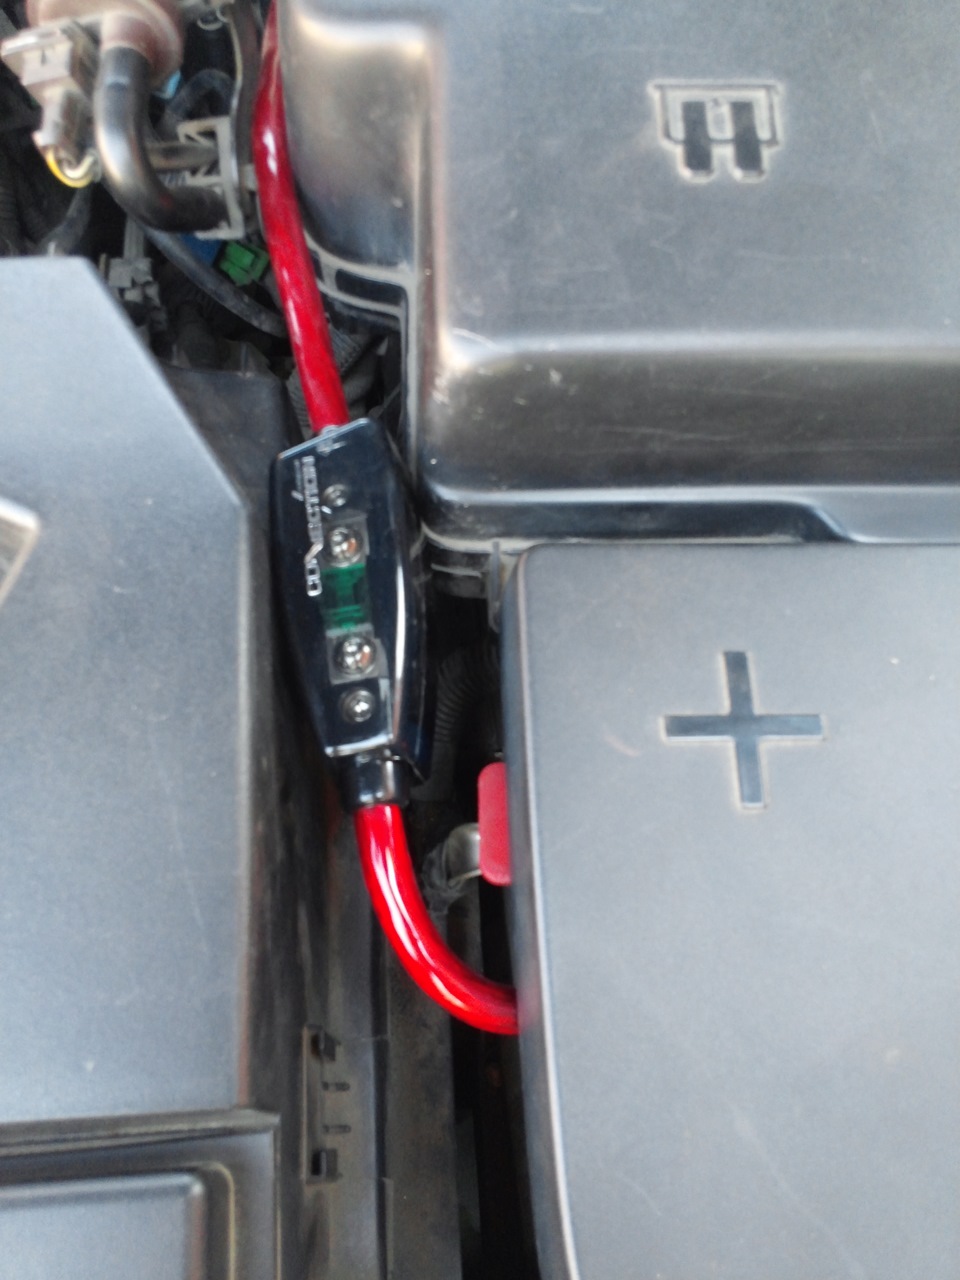
3. Trim the power cable within 18” of the battery and strip1/2”of insulation from the end of the wire.
4. Strip 1/2” from the battery end of the power cable and crimp a large ring terminal to the cable. Use the ring terminal to connect to the battery positive terminal. DO NOT install the fuse at this time.
NOTE: ALWAYS protect the battery and electrical system from damage with proper fusing.
5. Prepare the chassis ground by scraping any paint from the metal surface and thoroughly clean the area of all dirt and grease. Strip the end of the wire and attach a ring connector. Fasten the cable to the chassis using a non-anodized screw and a star washer. Prepare the grounding cable for attachment to the amplifier by stripping 1/2” of insulation from the other end of the wire. Insert the bared wire into the GND terminal and tighten the setscrew to secure the cable in place. 6. Prepare the REM turn-on wire for connection to the amplifier by stripping 1/2” of insulation from the wire end. Insert the bared wire into the REM terminal and tighten the setscrew to secure the cable into place. Connect the other end of the REM wire to a switched 12-volt positive source.
NOTE: The switched voltage is usually taken from the source unit’s accessory/remote lead.
7. Securely mount the amplifier to the vehicle or amp rack. Remember: Think before you drill! NOTE: Be careful not to mount the amplifier on cardboard or plastic panels.
8. Connect the source signal to the amplifier by plugging the RCA cables/high level inputs into the input jacks at the amplifier. Use only one input configuration. Using both the RCA and High Level inputs will cause undesirable operation.
NOTE: When using High Level Inputs, if audible engine noise is present, connect the Black wire to chassis ground. If noise is still present, contact your local authorized dealer or Lightning Audio customer service.
9. Connect the speakers. Strip the speaker wires 1/2” and insert into the speaker terminal and tighten the setscrew to secure into place. Be sure to maintain proper speaker polarity. DO NOT chassis ground any of the speaker leads as unstable operation may result.
NOTE: Mono amplifier speaker outputs (A & B) are wired in parallel internally.
10. Perform a final check of the completed system wiring to ensure that all connections are accurate. Check all power and ground connections for frayed wires
and loose connections. Complete the installation by installing the proper value fuse.
Operation
Adjusting Level: To adjust the level setting, turn the amplifier gain level to the lowest setting. Turn the source unit volume up until distortion is audible and then slowly down until the distortion is inaudible (approximately ¾ volume position). Next, increase the amplifier level setting until once again distortion is audible and then down slowly until the distortion is inaudible.
NOTE: Proper level setting is done by a trained professional utilizing an oscilloscope. For a more in depth setting procedure, contact Lightning Audio Technical Support.
Adjusting Crossover: Select the appropriate position for the crossover filter switch. Turn the crossover adjustment knob to the lowest setting. With the system playing at normal listening level, turn the crossover adjustment knob up slowly until the desired crossover point is achieved. Example: subwooferslow pass with an 80Hz crossover point and full-range- high pass with a 100Hz crossover point
NOTE: Some models include a subsonic filter with a variable 15-40Hz high pass filter designed to prevent frequencies below the audio range from being applied to the subwoofer from the amplifier. Set this to your personal preference while listening to the system.
Описание автомобильного усилителя Lightning Audio LA
Автомобильный 2 х канальный усилитель LA4100 от компании Lightning Audio хоть и бюджетного уровня, тем не менее с неплохим соотношением цена-качество с универсальными фильтрами и хорошими коммутационными возможностями .
Дизайн корпуса усилителя Lightning Audio выдержан в классической манере. У корпуса довольно скромные размеры. Предусмотрены входы высокого уровня для облегчения подключения его к магнитоле у которой нет линейных выходов. Басовый регулятор призван создать подъём до 12 дБ. Частоты среза фильтров НЧ и ВЧ также регулируются по отдельности: для фильтра НЧ 30 — 150 Гц, для фильтра ВЧ 10 — 1200 Гц.
Особенности автомобильного усилителя Lightning Audio LA
Высокоуровневые входы
Настройки кроссовера ОТКЛ/НЧ/ВЧ
ВЧ: 60Гц до 1.2kГц НЧ: 30Гц до 250Гц 12дБ/Окт
Бас: 0дБ до +12дБ @ 45Гц
Входные терминалы, зажим винтом
Калибр силового провода 8 Га
Калибр акустического провода 10 Га
Радиатор Алюминий
Охлаждение Естественная конвекция
Режим усиления Класс A/B
Характеристики автомобильного усилителя Lightning Audio LA
|
Усилитель Lightning Audio 4100 |
|
| Количество каналов | 4 |
| Мощность номинальная 4 ом: | 4 х 50 Вт |
| Мощность номинальная 2 ом: | 4 х 100 Вт |
| Мощность номинальная мостом 4 ом | 2 х 200 Вт |
| Максимальная мощность, | 800 Вт |
| Сабсоник фильтр: | нет |
| КНИ, %: | < (1 кГц) |
| Частотный диапазон, Гц | 20 Гц — 20000 Гц |
| Чувствительность входная: | 200mV — 4V |
| С/Ш, дБ: | 90 дБ |
| Вес: | 4.1 кг |
| Басовый регулятор: | нет |
| Размеры: | 30см x 23.9см x 5.8см |
| Предохранители: | 1 х А |
Оставьте свой отзыв об автомобильном усилителе Lightning Audio LA
Купить Lightning Audio LA усилитель и сабвуфер со скидкой!
Купить усилитель Lightning Audio со скидкой можно позвонив по телефону (495) 220-35-67
О компании
Компания Lightning Audio была создана в 1992 году. Бренд Lightning Audio моментально заработал авторитет в индустрии Car Audio. В 1997 году Lightning Audio была названа в списке 500 лучших компаний отрасли. В настоящее время компания производит динамики, усилители, аккумуляторы, установочные аксессуары для любителей автозвука и профессиональных инсталляторов.
Lightning Audio постоянно экспериментируем с разработками и новыми идеями. В наших усилителях предлагается большая мощность и
стабильное качество. Компания интегрировали новые технологии и
максимально совершенствовали производство. Например, усилитель Lightning Audio серии
Strike с запоминающимся дизайном и сабвуферы с двойной звуковой катушкой
DVC стали очень популярны и за короткий период завоевали признание
аудиолюбителей во всем мире. В новых моделях достигнут еще более высокий
уровень соотношения цены и качества.
Компания Lightning Audio всегда гордилась тем, что работая над качеством и следуя самым современным тенденциям отрасли, успешно конкурирует в направлении инновационных разработок автомобильной аудиоаппаратуры. Сочетая высокое качество проектирования, исследовательских работ и производства, мы постоянно повышаем производительность труда, что делает наш фирменный продукт еще более фантастическим, но не делает при этом фантастическими наши цены.

